One often-overlooked aspect of design for mass-production is the assembly process. When multitudes of workers of different skill levels, at a myriad of production locations, using tools in several states of calibration are tasked with assembling small components, even the simplest of products can have a wide range of variation in its assembled state.
One of our products was designed to be held together with a small piece of plastic that a machine screw would thread into. The machine screw could be rapidly driven into the plastic by a factory worker with an electric screwdriver. The torque limit on the screwdriver determined how much clamping force would be present in the final assembly.

Like a lot of products that rely on tightened fasteners to function, this particular one was designed with a “theoretical” optimal assembly torque value. However, mechanical simulations often do not take into account the variation in torque seen as the screw turns and the operator presses down on the screw. Additionally, the bit can slip and cause variations in torque.
I was tasked with figuring out how much of the torque screwdriver’s click-based torque setting was really being applied to the assembly, instead of being lost to the cutting of threads. Given only a few days to come up with something that could provide reliable angle and torque data to advise those working on the mechanical simulation, my team delivered.

This system, despite resembling an expensive attempt at start a fire, provided valuable data and allowed us to determine whether our current assembly torque spec given to the factory was accurate. It correlated with simulation values well.
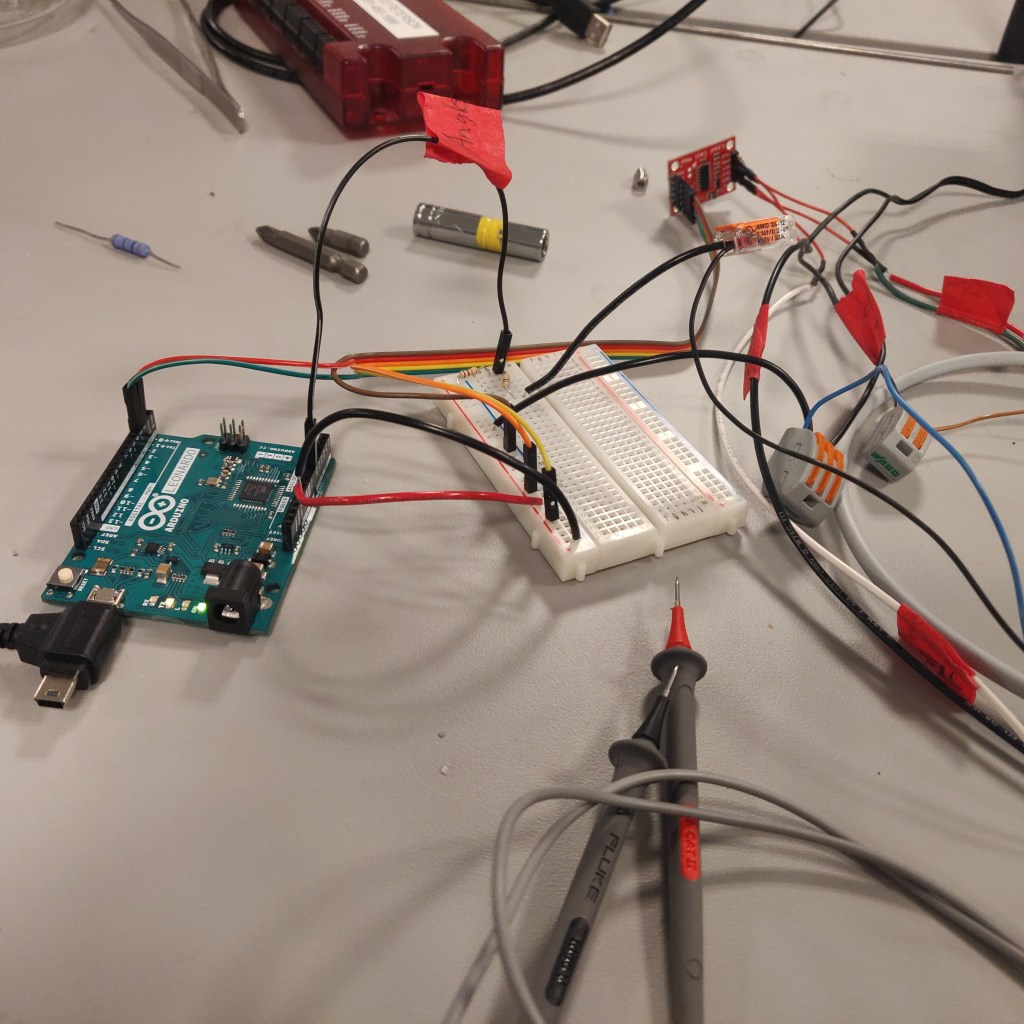
I learned to set up and use a load cell amplifier for the first time, which made the mV level data coming from the rotary torque sensor much easier to read on an Arduino.
